 |
|
 |
|
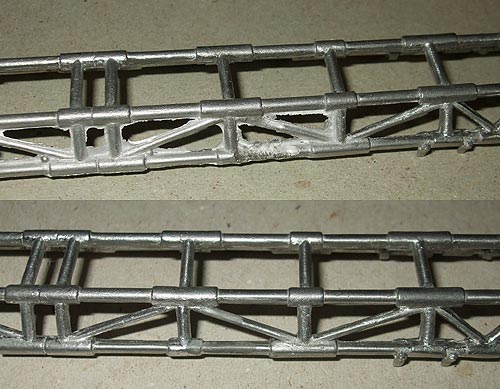 |
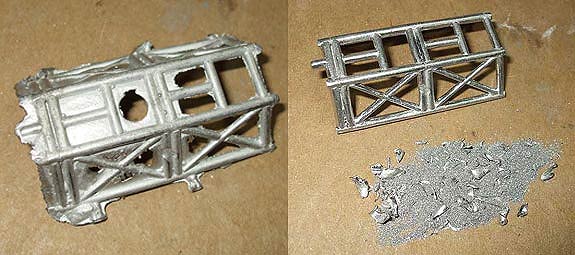
The spine was a particularly nasty
bit of moulding with plenty of pits and gouges to go along with the
flash. Talcum powder and cyano glue was used to fill the craters in
the metal parts which worked really well. |
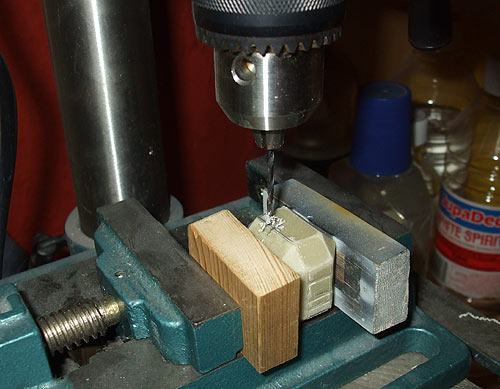 |
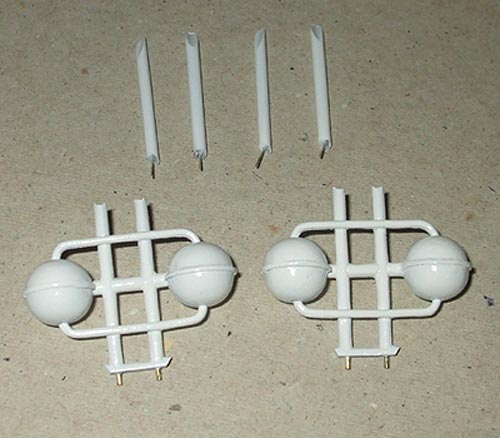
The landing gear pods were drilled out to accept
brass tubing which replaced the fragile resin supports. |
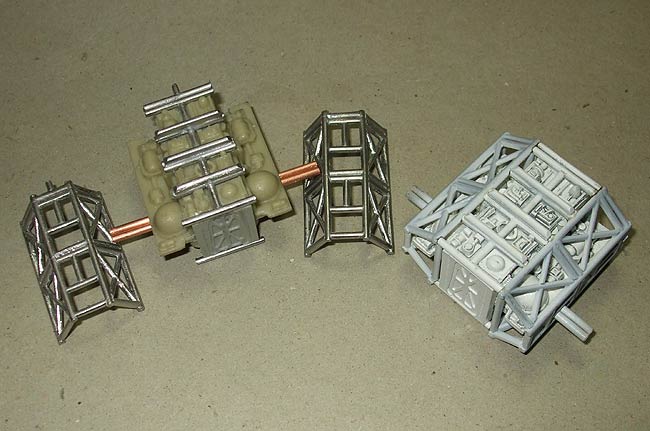 |
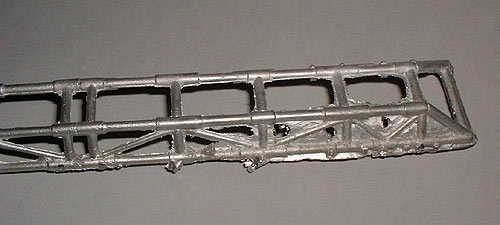
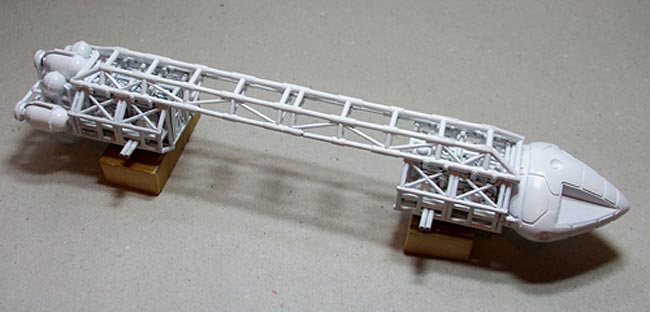
The brass tubing extended right through the front
& rear cages for strength. Parts were sprayed with Mr. Surfacer
as a primer and then Tamiya white before final assembly. Epoxy was
used for all load bearing structures with only the small detail parts
put on with cyano. No way was I having this puppy fall apart under
its own weight! |
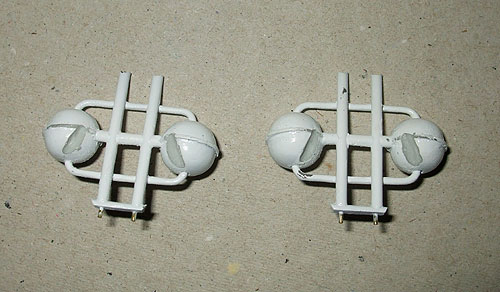 |
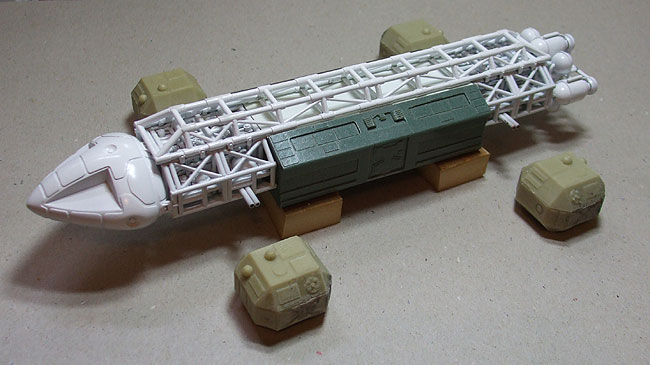
Grooves had to be filed in the small round tanks to get them to
fit properly over the diagonal frame members in the rear. |
 |
Where ever possible, brass rod was epoxied into
holes drilled in parts to ensure a strong bond. A round file was used
to shape the ends of struts where they joined to other round frame
members for a gap free join. |
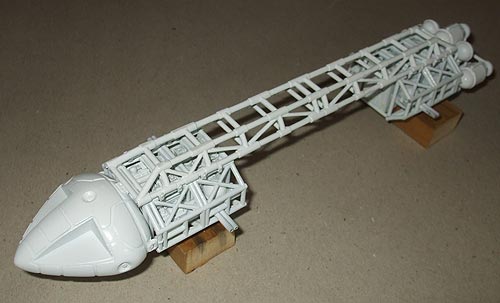 |
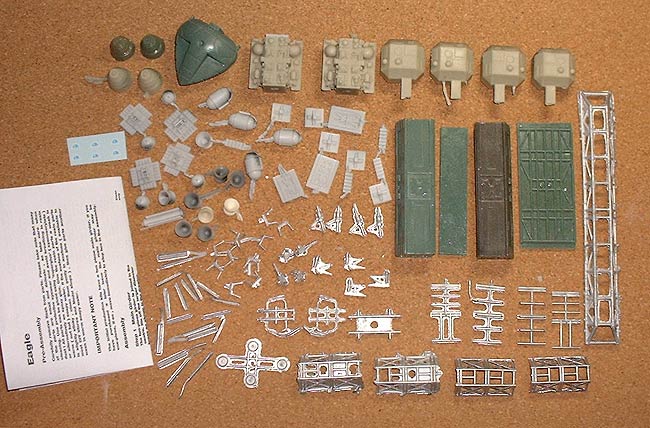
Starting to look like an Eagle. |
 |
|
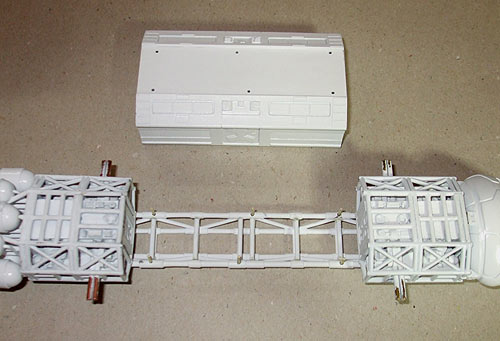 |
The passenger pods on the studio models were held
on with screws and brackets on top to enable them to be removed. I
wanted mine firmly attached so I epoxied it in place using brass rod
fitted into holes drilled in the spine & pod. |
 |
Test fitting parts. |
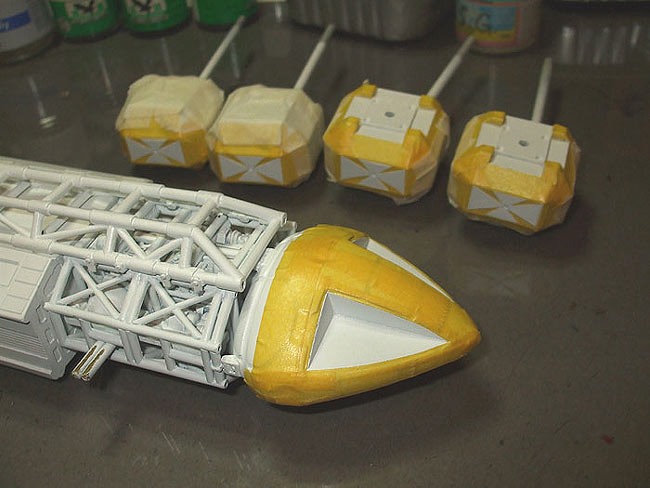 |
Masking for the black areas. |
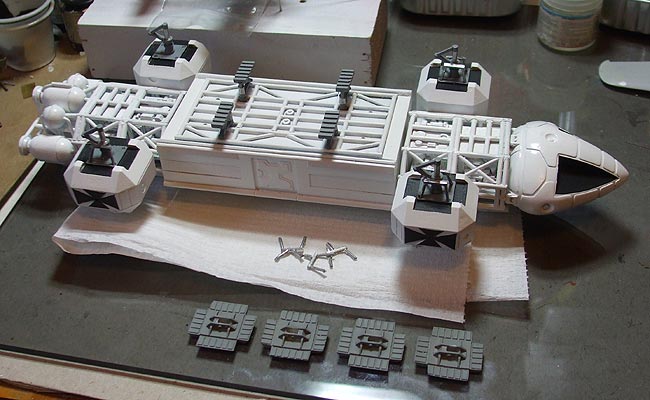 |
Final assembly - finally! |