| FineMolds X-Wing Construction |
| |
 |
|
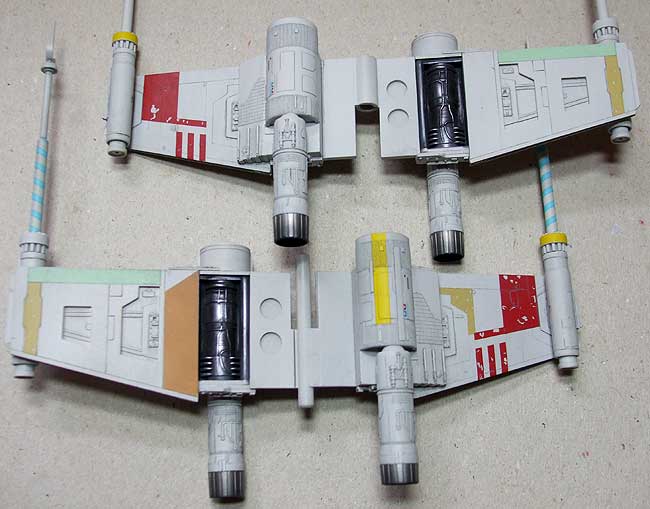
| Engines were painted with Humbrol Metalcote Steel which is
superb stuff. It goes on as a very flat dark grey but when polished up it
takes on a very convincing metal look. The engine nozzles were done in two
different shades of Testors Metalizer. Basic airframe (or is that spaceframe??)
colour is Gunze H338 Light Gray FS36495 because, as everyone knows, US Federal
Standard colours are used throughout the known - and unknown - universe.
I used the kit decals for most of the markings though did elect to paint
on some of the brown areas. |
| |
 |
|
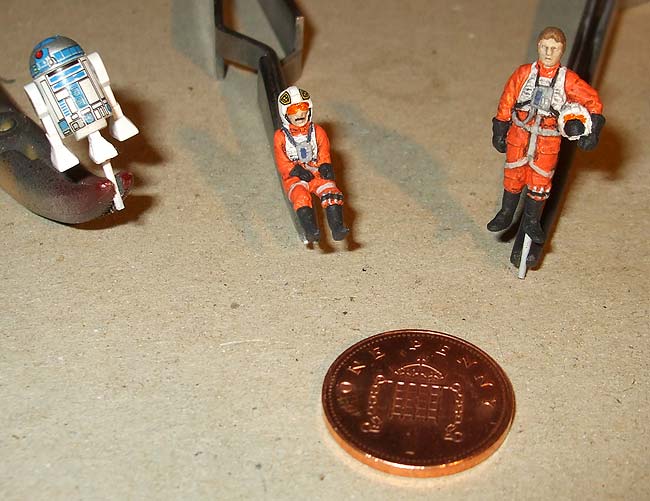
Oooh... a shiny new penny! These are my first attempts at
painting figures since I were a wee nipper. The dark grey I used as a wash
shows up black here for some reason, perhaps I should have gone with a slightly
lighter grey but what the hell, it still looks okay I think. R2 is done
with decals of course, as much as I'd like to take credit for that paint
job.
Note that despite FineMolds' supposedly meticulous research they managed
to mould the pilot figures in mirror image; the flare(?!) belt around the
lower leg should be on the right leg, not the left. Yeah, that's a bit pedantic
of me I know.... |
| |
 |
|
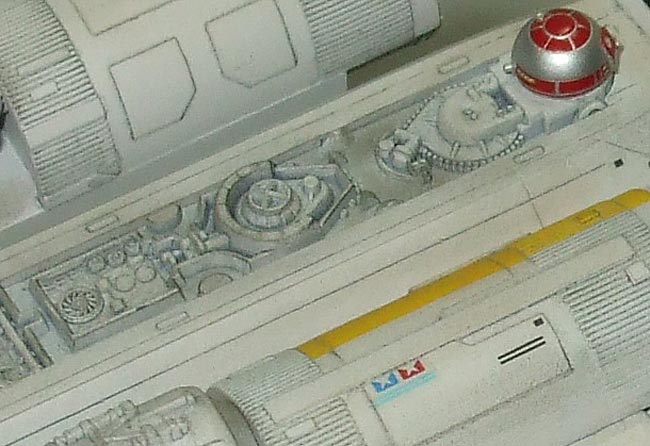
| Hmmmm.... is it me, or does that look suspiciously like the
lower half of a Tamiya logo, albeit with reversed colours?! FineMolds did
an exceptional job of recreating the studio models, right down to the bits
cannibalised from kits such as the rear deck from a German tank (left side
of pic) that the original model makers used. Also note how well the decals
on the R2 unit fit. |
| |
 |
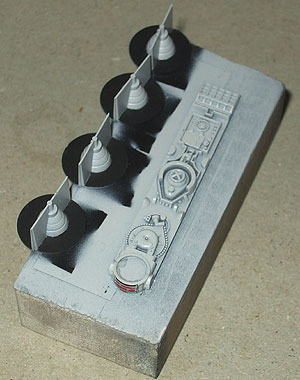 |
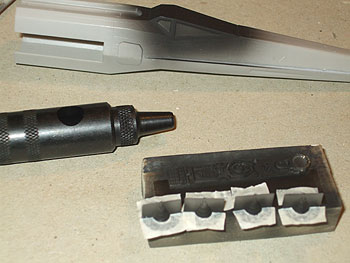
| Intakes were painted black, I then punched holes
in pieces of tape and cut these in half to produce masks. Normally
I would paint lighter colours first but in this case I found it much
easier to mask this way and then spray the light grey over the black.
Only minor touch ups were needed afterwards as you can see in the
right hand picture. |
|
|
| |
 Back
to X-Wing Mainpage Back
to X-Wing Mainpage |
| |


