| AMT 1/25 '67 Camaro Z28 |
| |
 |
|
| A die-hard airplane guy builds a car model?? They said it
couldn't be done. Said I was mad - MAD I tell you! But it is not I who am
mad.... it is I who am crazee...!! Alright, that's enough Ren & Stimpy
for the moment. |
| By my reckoning it's been at least 25 years since I last built
a car model (and man is that a depressing figure!) so I guess it's about
time I give them another go. I actually started this about 5 years ago,
got as far as painting the body, decided I wasn't happy with the finish
and stuck it back in the box. Gloss paints have never been my strong point
which may explain why it's taken me a quarter of a century (cripes, that
sounds even worse!!) to attempt another shiny car model. Of course, I never
bothered to paint them at all when I was a wee sprog so shiny paint wasn't
an issue then. Ah, the good ol' days.... |
| |
 |
|
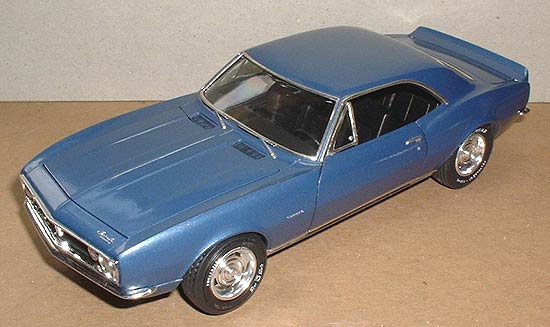
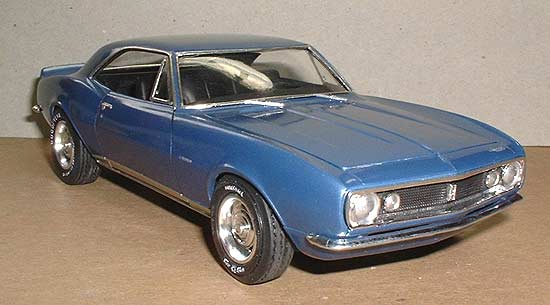
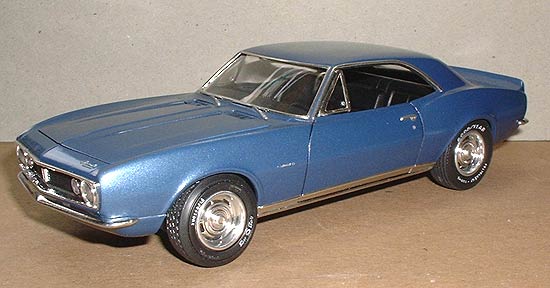
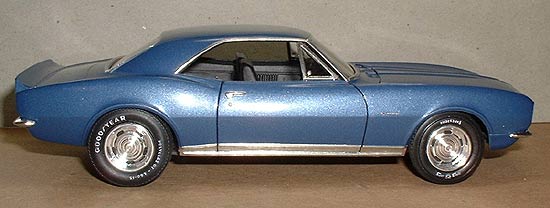
| For some bizarre reason which still escapes me, I decided
I needed to finish this a few weeks ago so out of hibernation it came. The
paint was stripped off with oven cleaner and then re-sprayed with the same
paint, a 50/50 mix of Extracolour Roundel Blue and Revell Metallic Blue
(98). This turned out much better and after sanding out a few dust bits
and touching up I gave it a couple of light coats of Tamiya Clear. The window
frames, door handles and trimwork were done with Bare Metal Foil and the
Camaro & Chevrolet logos picked out with Humbrol Metal Cote. A final
light coat of clear to seal all that in and a polish with Tamiya Rubbing
Compound finished off what turned out to be one of the best gloss paint
jobs I've ever done. Wonders never cease. |
| |
 |
|
| The hood (that's the bonnet to you Brits) doesn't fit very well and I'm
not too happy with the headlights which are moulded as part of the grille.
If I'd had some clear ones in the spares box I would have replaced them
but I don't exactly have what you'd call a comprehensive box of spare car
parts since this is the only one I've built. I had to make do with painting
the headlights silver. |
| |
 |
|
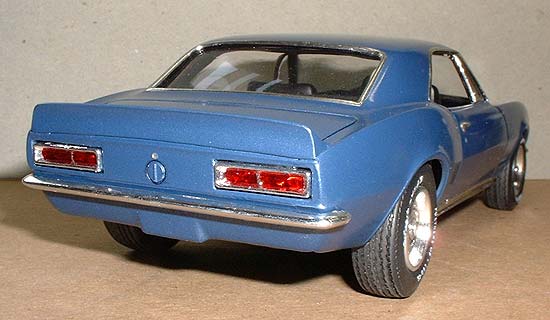
| The bumpers had some nasty mould lines on which I just couldn't
ignore but of course there's the age old problem of how to touch up the
chrome afterwards. I used small pieces of Bare Metal Foil and this worked
very well. Not an exact match but darned close. Tail lights are done in
Gunze Clear Red. I have a feeling the inner bits should be clear back up
lights but what the hell, it looks pretty anyway. |
|
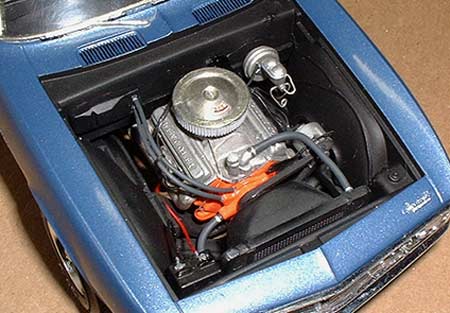
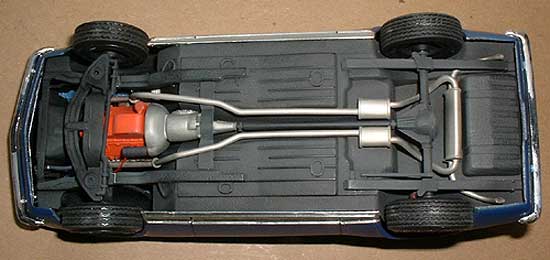
| I never had any intention of adding every single wire and
hose but I thought the basics were needed to spruce the engine up a bit.
In theory the car would start (spark plugs are wired up with the correct
firing order as far as I could tell from photos) and you'd have heat in
the winter but the battery would go dead (couldn't be arsed wiring up the
alternator) and pumping the brake pedal would only coat the bottom of the
car in brake fluid because the brake lines don't go anywhere. But you wouldn't
be able to steer the damn thing anyway so who needs brakes? Spark plug wires
are from Detail Master, heater hoses are .030" plastic rod and battery
wires are Radio Shack's finest. Hose clamps are silver painted decal strips.
|
| |
 |
|
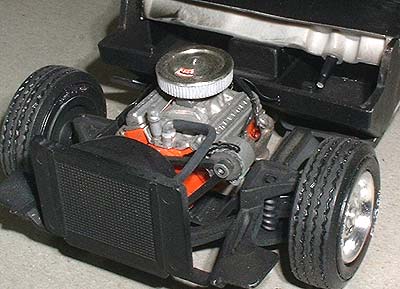
| I wanted to portray a nicely maintained but roadworthy muscle
car. You know, something that a mere mortal like me could actually own and
drive. Yeah, right. The bottom was sprayed with a very thin tan paint to
simulate road dust and the tire treads were lightly sanded. And I've just
noticed that one end of the tie rod has come off which is much more like
a car I actually could own. Needs more rust though. A lot more. |
|
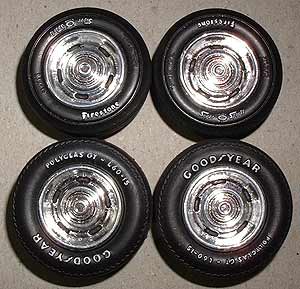
Above left: Have to admit I'm
rather proud of the lettering on the tires - somewhat better than my blobby
attempts as a child. I remember reading somewhere that acrylic paint was
the thing to use on vinyl so I used Tamiya White and it worked a treat.
I don't recommend doing more than one tire per evening though as a complete
mental breakdown and loss of eyesight and/or bladder control will surely
be the result.
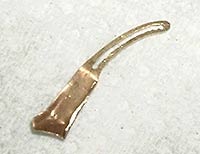
Above right: By far the
biggest headache was getting that &%@£$!!! radiator on. Much grinding
and cursing was required. If AMT had their way the alternator would be magically
suspended in mid air by the fan belt. Rather than hold it on with a bent
coat hanger (a feature of more than one of my own beaters in the past) I
decided to make the top mount from brass sheet. It still defies the laws
of physics somewhat but it's better than nothing and you can't really tell
there's no bottom mount once the body's on. |
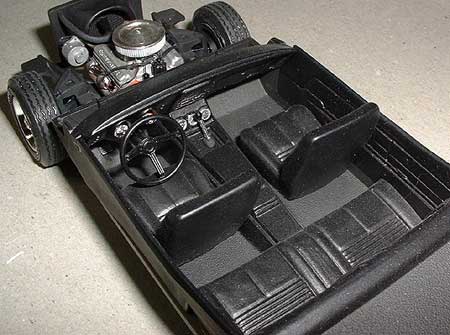 |
Left:
All the gauges are Reheat 1/32 aircraft decals. If you look closely
you'll notice the Camaro is doing 350 knots at 5000 feet on a northwesterly
heading, which is damn strange behaviour for a Chevy if you ask me.
Above: My scratchbuilt brass alternator
mount, magnified several trillion times. Give or take. |
|
| |
 |
|
| So there you have it. A car, built by a non-car kind of guy.
It won't win any contests but I'm quite happy with it, and who knows, I
might even build another one sometime. Only if you're nice to me though. |
| |
 Back to 1/25th Cars Main
 |
| |