 Still, it wasn't all smooth sailing. If it was I'd probably be building
ship models. After gluing on the horizontal stabilizers for instance, I
discovered to my immense displeasure that the elevator hinge lines had a
decidedly forward slant to them.
Still, it wasn't all smooth sailing. If it was I'd probably be building
ship models. After gluing on the horizontal stabilizers for instance, I
discovered to my immense displeasure that the elevator hinge lines had a
decidedly forward slant to them.Foolishly thinking I could live with this I left them as is. My resolve crumbled after about two days. The stabilizers were then unceremoniously ripped off, a thin wedge of plastic added to the root and then they were re-glued in place. I also took the opportunity to cut off the elevators so they could be re-attached later in a slightly more candid position.
 I
tried a new method when it came time to rig and, as I mentioned before,
it very nearly had me testing the flight characteristics of this model in
frustration.
I
tried a new method when it came time to rig and, as I mentioned before,
it very nearly had me testing the flight characteristics of this model in
frustration.Normally I would use stretched sprue for rigging. It's easy to do and it tightens up beautifully with a bit of heat from an incense stick. It's fine for WWI aircraft but I thought something a bit shinier would be better to simulate the highly polished flying wires of a peacetime biplane.
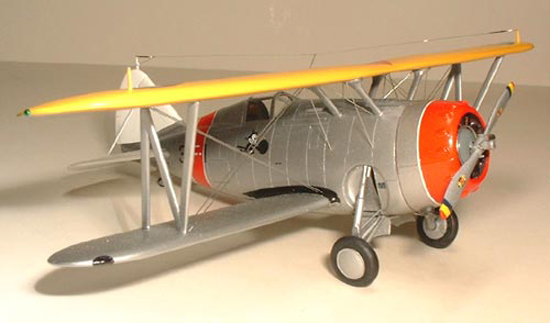
 This was also my first experience with Propagteam decals and knowing
their reputation for refusing to budge once applied I approached them with
a great deal of trepidation.
This was also my first experience with Propagteam decals and knowing
their reputation for refusing to budge once applied I approached them with
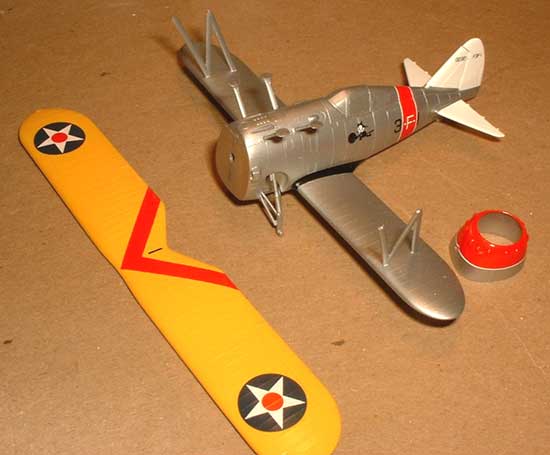
a great deal of trepidation.In fact they went on just fine as long as they were plonked on top of a big puddle of water. I made the mistake of putting Micro Set down before applying one of the rudder decals and it promptly stuck fast in the wrong position. All attempts to move it ended with a completely destroyed decal and I couldn't find any suitable replacement so there is now nothing on the right side of the rudder - conveniently and purposely hidden by the wing in the picture!
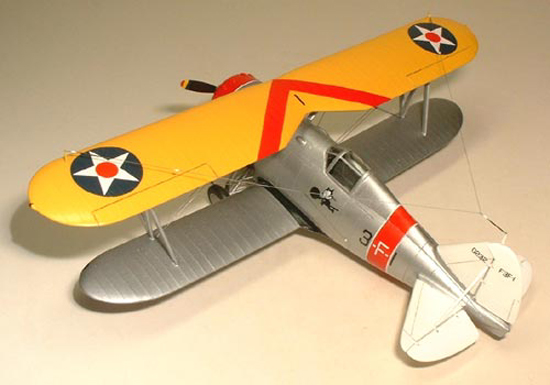
 All
masking was done with Bare Metal Foil including the wheel hubs and
black wing roots. The handles on the lower wing tips are CAF 8" 'O'
decals with the centres filled in with black paint.
All
masking was done with Bare Metal Foil including the wheel hubs and
black wing roots. The handles on the lower wing tips are CAF 8" 'O'
decals with the centres filled in with black paint.Horizontal canopy frames are painted decal strips, the canopy itself being dipped in Johnson's Klear beforehand and another coat applied on top to seal the strips in. I left off the bombsight as it only seems to have been fitted when the bomb racks were installed, which has a certain amount of logic to it I think.
 |
 |
 |
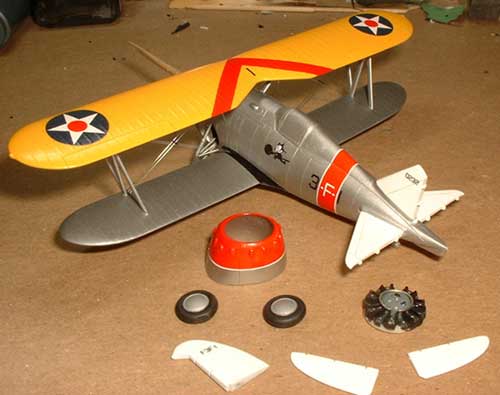
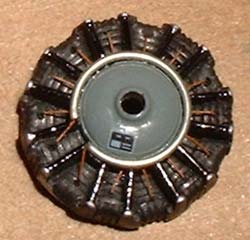
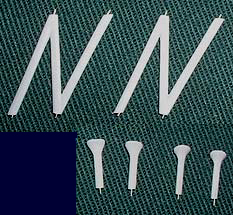
Centre: The engine mount wasn't long enough to reach the back of the engine so a couple of layers of .030" sheet were needed to help things out a bit. 5 minute epoxy was my adhesive of choice for the resin engine, cowling and mount.
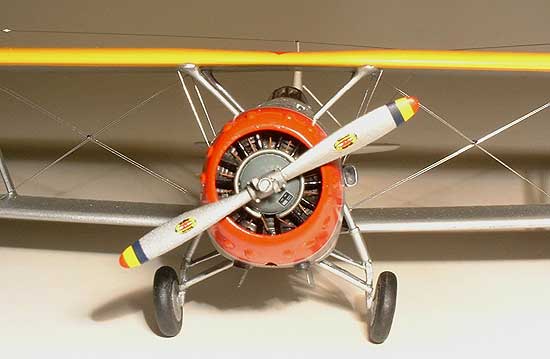
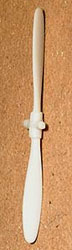
Right: Prop as supplied in the kit. In a word, yecch. I cut the blades off and stuck them into a new hub made from plastic tube and rod.
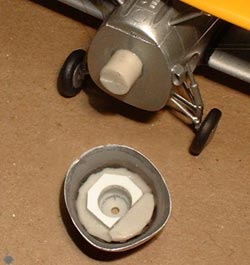
Below left: Holes were drilled in the ends of the struts and bits of wire stuck in. These fit in holes drilled in the wings and fuselage to provide a more positive mounting.
 |
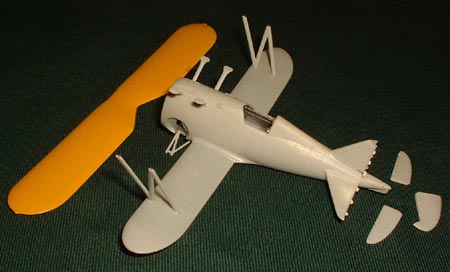 |
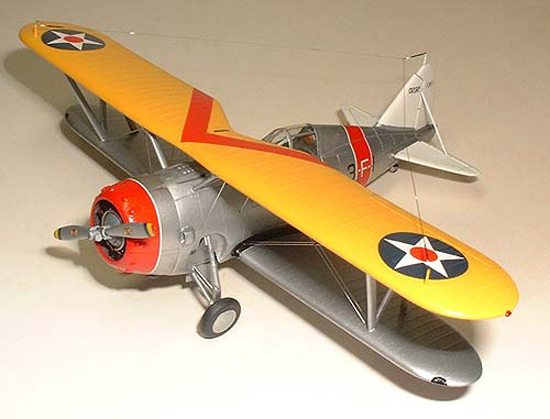
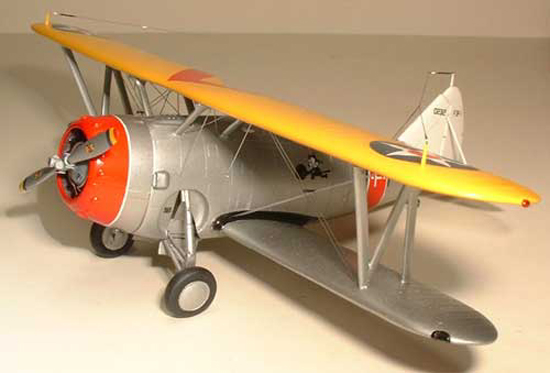
 Paint
is a 50/50 mix of Humbrol Bright Silver and Extracolour Corroguard for the
wings and fuselage. I added a touch more Bright Silver when spraying the
fuselage to try and differentiate between the anodised metal fuselage and
the aluminum doped fabric wings. It's subtle. So subtle in fact, it's completely
unnoticeable.
Paint
is a 50/50 mix of Humbrol Bright Silver and Extracolour Corroguard for the
wings and fuselage. I added a touch more Bright Silver when spraying the
fuselage to try and differentiate between the anodised metal fuselage and
the aluminum doped fabric wings. It's subtle. So subtle in fact, it's completely
unnoticeable.Top wing is Humbrol Yellow with a few drops of orange in, red is good old Humbrol Bright Red and the tail is Gunze Gloss White. Final finish is a 60/40 mix of Gunze Clear Gloss & Clear Flat.