| Airfix 1/72 Curtiss P-40B |
| |
 |
|
| Ah, Airfix. Where would we be without them? For a good many
years it looked like the venerable old company was steadily declining and
well on its way to being put out to pasture. The same tired old kits were
released and re-released year after year, many of which, dating from the
dawn of plastic models, should never have seen the light of day again. It
seemed Airfix would never survive the onslaught of new kits from Japan,
Korea and China that were produced with 21st century moulding technology.
And then Hornby took them over and lo and behold, a transformation started
taking place. Shiny new Spitfires, Hurricanes and yes, the dreaded but inevitable
Messerschmitts appeared with accurate shapes, recessed panel lines and good
quality decals. Cockpit detail was somewhat lacking and some of Airfix's
ubiquitous fit problems still plagued them, but it was a sign of happy things
to come in the manly scale, and Airfix did not disappoint. Two lovely Swordfish
biplanes were newly tooled, a superb P-51 Mustang that is, in my most humblest
opinion, the best P-51 in 72nd scale (yes, even better than the exalted
Tamiya's small scale effort!) a late mark Spitfire with superb cockpit and
wheel well detail, a Gnat jet trainer and this little baby, the Curtiss
Hawk. |
| |
 |
|
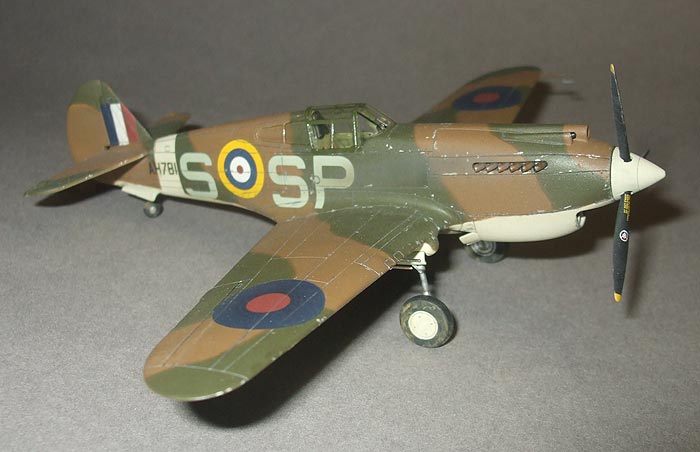
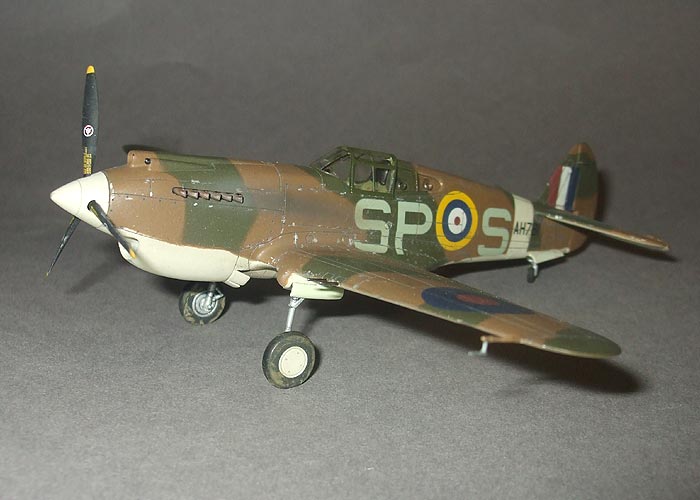
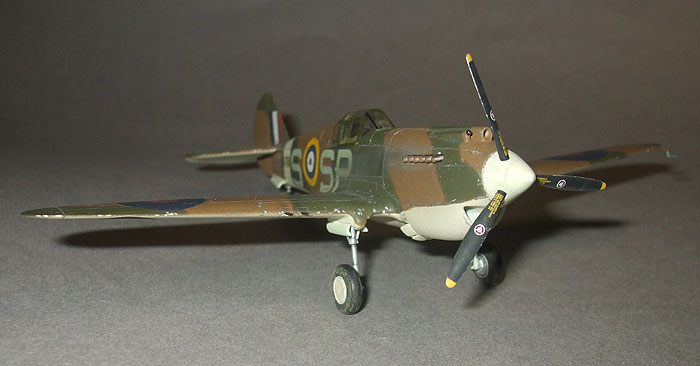
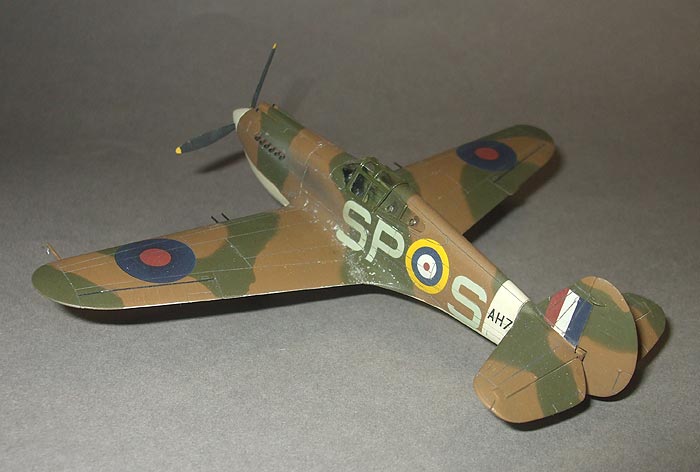
| The kit is marketed as a Hawk 81-A-2 but externally it's pretty
much identical to a P-40B. I did mine as a 400 sqn RCAF P-40B using decals
from an old IPMS Canada sheet. I added a bit of detail to the landing gear and p/e seatbelts to the cockpit,
drilled out the exhausts, replaced the wing guns with stainless steel tubing
and repositioned the rudder and elevators. Other than that it's a fairly
straightforward build, though there were still a couple of pesky fit problems
to deal with. |
| |
 |
|
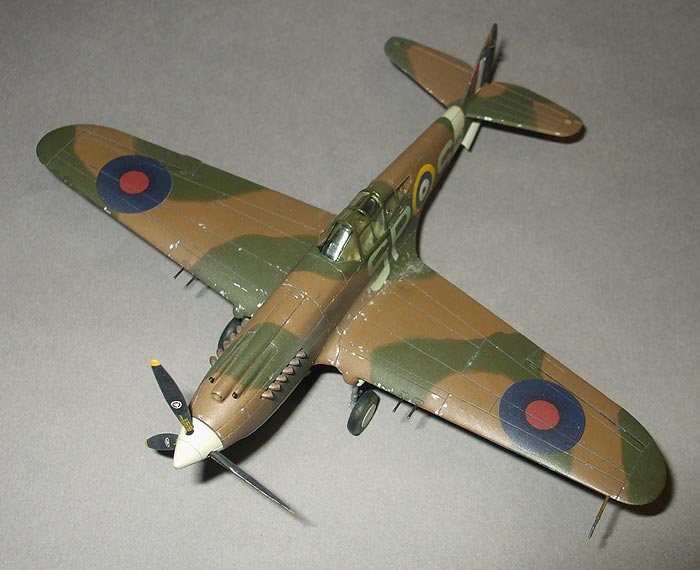
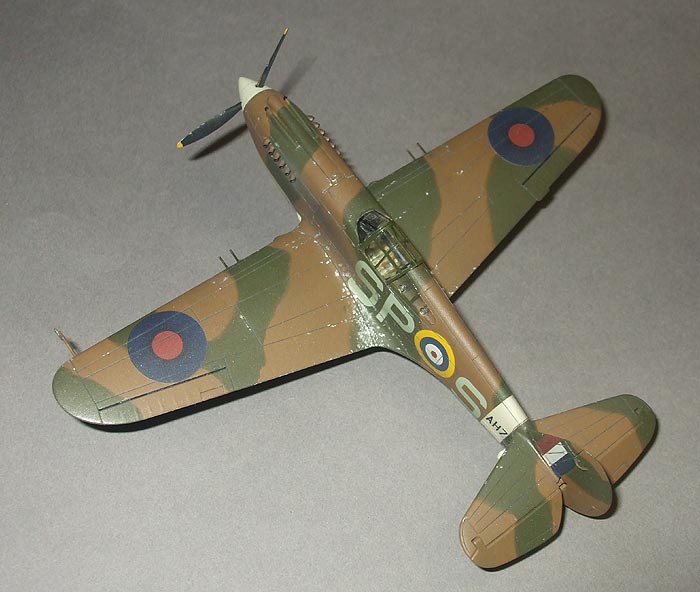
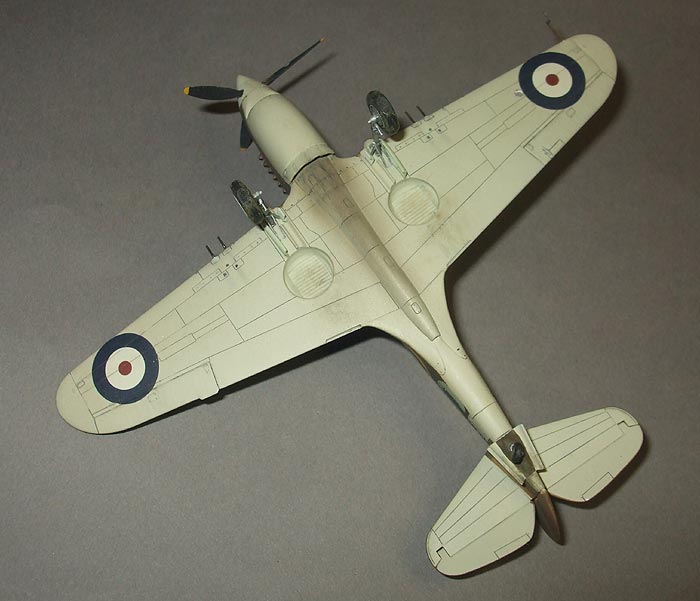
| Paint is Humbrol enamel for the Dark Earth and Sky with Polyscale
British Dark Green for the, uhhh... dark green. Interior is Model Master
interior green with olive drab for the floor. Exhaust stains are a 50/50
mix of Polyscale Clear Flat and Grimy Black with some brown pastels on top
for good measure. Muddy wheels are done with a brown pastel wash. |
| |
 |
|
| |
| |
 |
|
| |
|
|
| |
 |
|
| |
 |
|
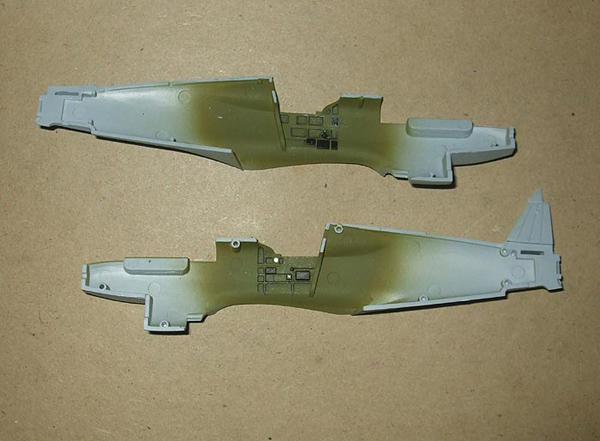
 Left
and below: Nothing fancy here. I added photo etched seatbelts and replaced
the thick moulded flap lever with a piece of plastic rod. Left
and below: Nothing fancy here. I added photo etched seatbelts and replaced
the thick moulded flap lever with a piece of plastic rod. |
 |
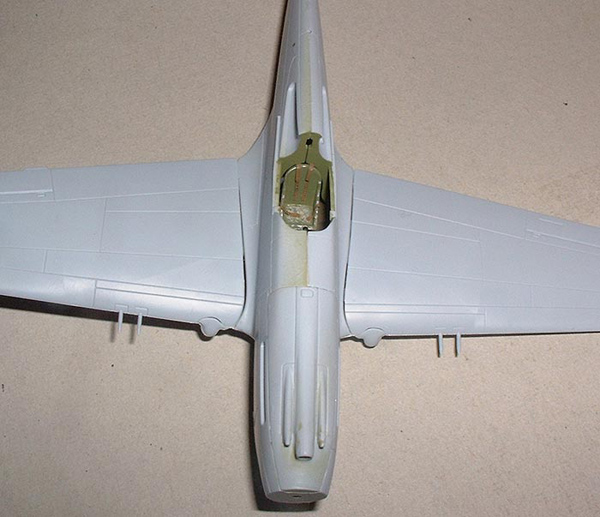 Left:
The only major fit problem encountered was at the wing roots. Taping the
wings to pull the tips up could have solved it but may have introduced too
much dihedral, though in retrospect there might not be enough if this gap
is not corrected and the wings on mine might be a bit flat. Oh well. Left:
The only major fit problem encountered was at the wing roots. Taping the
wings to pull the tips up could have solved it but may have introduced too
much dihedral, though in retrospect there might not be enough if this gap
is not corrected and the wings on mine might be a bit flat. Oh well. |
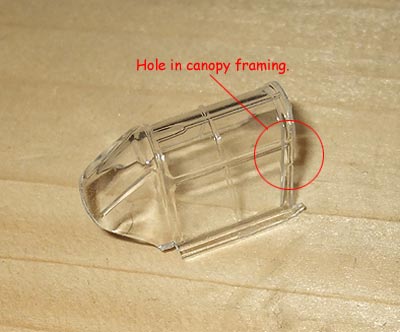 |
Left: The canopy had
a small hole next to the framing, possibly caused by a shortshot or
a defect in the mould. The framing itself was very thin in this area
and had broken in my example. I fixed both problems with a tiny spot
of superglue that was very carefully sanded and polished. Not an invisible
mend, but pretty close. |
|
Right: I added some .005"
plastic bits to cover the spaces
in the cowl flaps.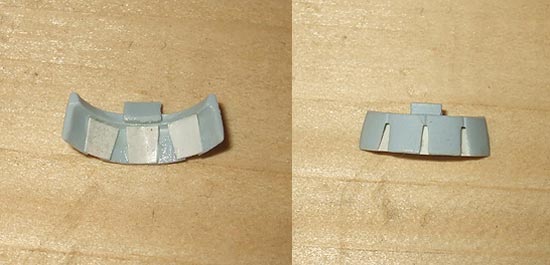 |
| |
 Back
to 1/72 Aircraft Main Back
to 1/72 Aircraft Main |
| |


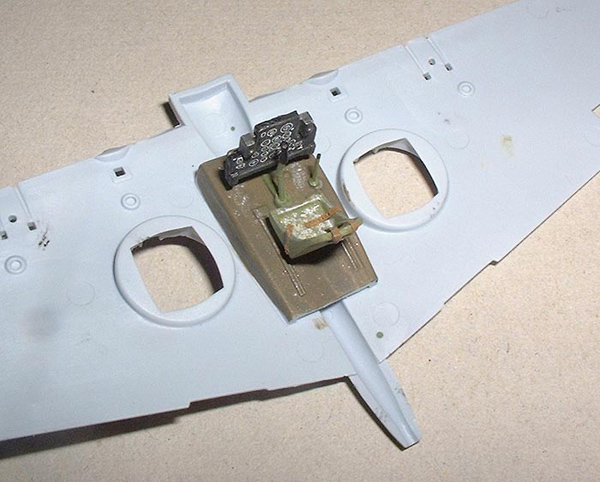
 Left
and below: Nothing fancy here. I added photo etched seatbelts and replaced
the thick moulded flap lever with a piece of plastic rod.
 Left:
The only major fit problem encountered was at the wing roots. Taping the
wings to pull the tips up could have solved it but may have introduced too
much dihedral, though in retrospect there might not be enough if this gap
is not corrected and the wings on mine might be a bit flat. Oh well.
