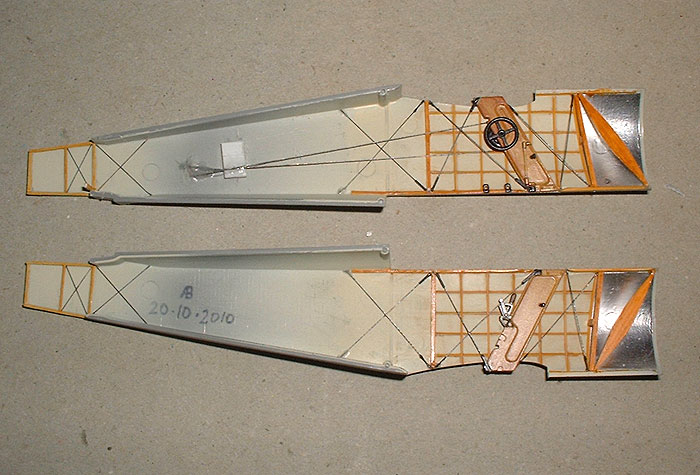
Roden's interior leaves a lot to be desired I must admit. Other than the cabane struts that extend into the cockpit, the trim wheel, throttle, the upper longeron and the small stringers moulded to the fuselage side, there isn't much else in there. I added the missing framing and rigging and cut off the fuel contents guage moulded to the starboard strut and replaced it with one from stretched clear sprue. Rather than painting the frames I did them with thin strips cut from a Pegasus wood grain sheet. Much quicker and easier than trying to mask and paint them.
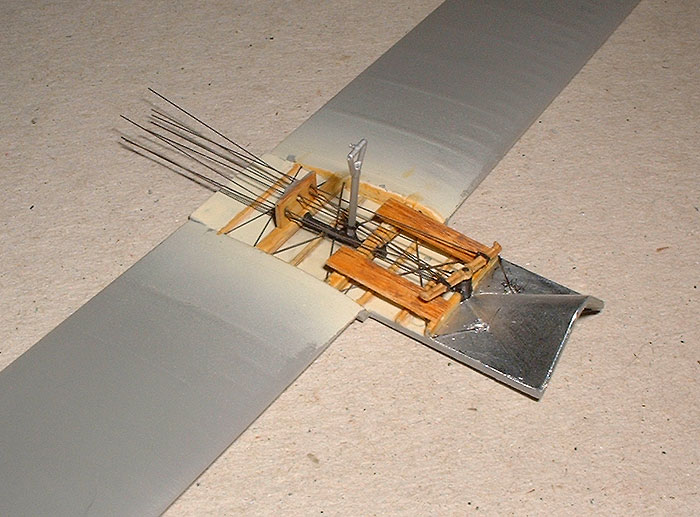
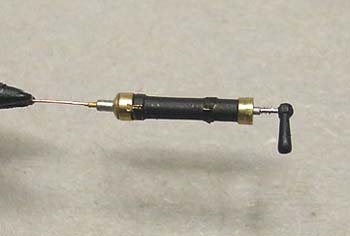
For the control cables I used some fine braided wire I found in the beading section of the local craft store. This is .012" in diameter and has a plastic coating. Burning the coating off yielded lovely braided wire about .010" in diameter, perfect for this scale. It comes on a reel so has a natural curve to it. I removed this by clamping it in a vice and hanging a weight off the other end, then coated it with superglue. Once dry it stayed nice and straight, the superglue having the added benefit of stopping it from fraying when cut. This was also used for the internal bracing wires with fine stainless tubing representing the turnbuckles.
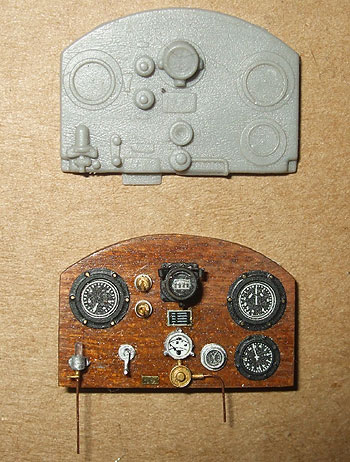 |
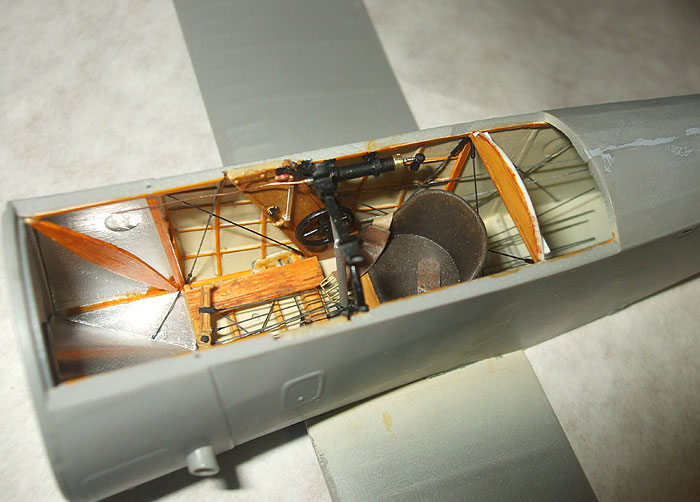
Above:
The cockpit looks fairly busy and Triplane-like when done. Left: The kit instrument panel is actually pretty good. Suitably painted and with a few instrument decals it would be just fine, and once the coaming is on and the guns are in place it isn't too visible anyway. Rather than trying to paint it however - simulated wood grain not being my forté - I decided to make a new one from thin mahogany veneer, Aeroclub photo etched bezels, Reheat and Airscale instrument decals and a few scratchbuilt bits and pieces. It worked out okay I guess. Below: Seat belts are made from lead foil with buckles from wire. 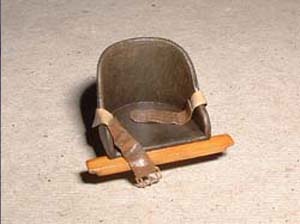 |
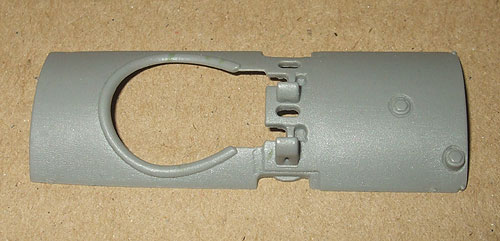 |
Left: The fuel fillers were in the wrong place and were a bit soft on detail. |
| Right: The incorrect forward filler was removed and filled and the correct locations were drilled. A scratchbuilt "faux tank" was made and glued underneath. The filler caps were made from tubing capped with punched discs and topped with hex heads punched out with a Historex punch and die set. | 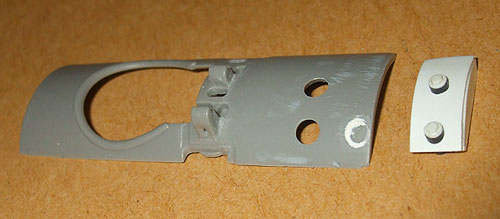 |
 |
Left:
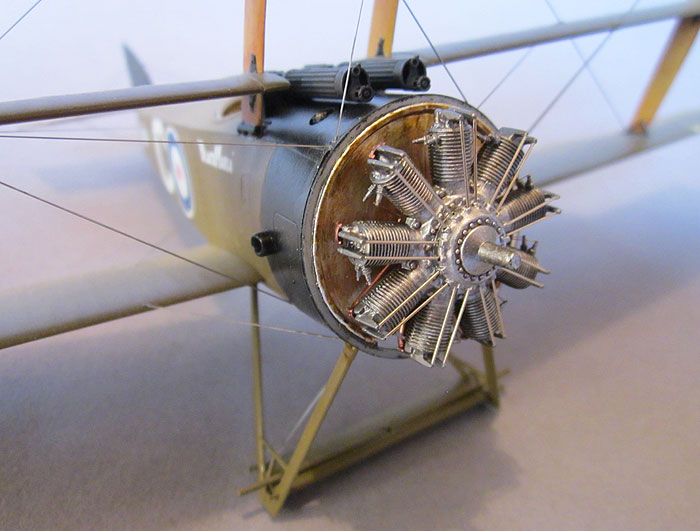
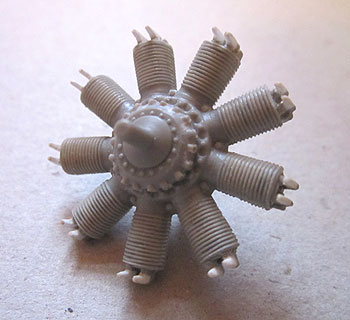
The kit Clerget engine isn't too bad really. I did consider replacing
it with a resin engine from Vector but thought I'd try and do something
with the Roden one instead. The engine is in front and rear halves
so probably the most time went into cleaning the seams between each
cooling fin. I used the edge of a cutting file and the tip of an X-Acto
knife for this. The cylinder heads and valve assemblies are the poorest
part of the kit mouldings but they aren't very visible once the cowling
is on anyway so I wasn't too concerned with this. I cut off the pushrods
and drilled holes for new ones in the crankcase. New rocker arms were
made from .030" x .040" strip, filing and sanding these
to shape once dry. I wasn't after accuracy here, I just needed something
to attach the new pushrods to. Below: The completed engine installed on a suitably oily firewall. Pushrods are 0.33mm Nickel Silver rod from Albion Alloys. Spark plugs are resin items from Taurus Models superglued into holes drilled in the cylinders, the leads are from fine copper wire. The spark plugs are nerve wrackingly tiny and a couple of them launched themselves into space while I was trying to insert them, never to be seen again. Well worth the effort though I think. Paint is Alclad Aluminium and the oily wash consists of Humbrol Acrylic Service Brown mixed with a bit of Tamiya Clear Yellow. Induction pipes are Alclad Copper, though you'll be hard pressed to see them on the completed model. Once the cowling is on the engine is good enough for me. |